Installation & Deployment 📥
Simply provide a topic or keyword for a video, and it will automatically generate the video copy, video materials, video subtitles, and video background music before synthesizing a high-definition short video.
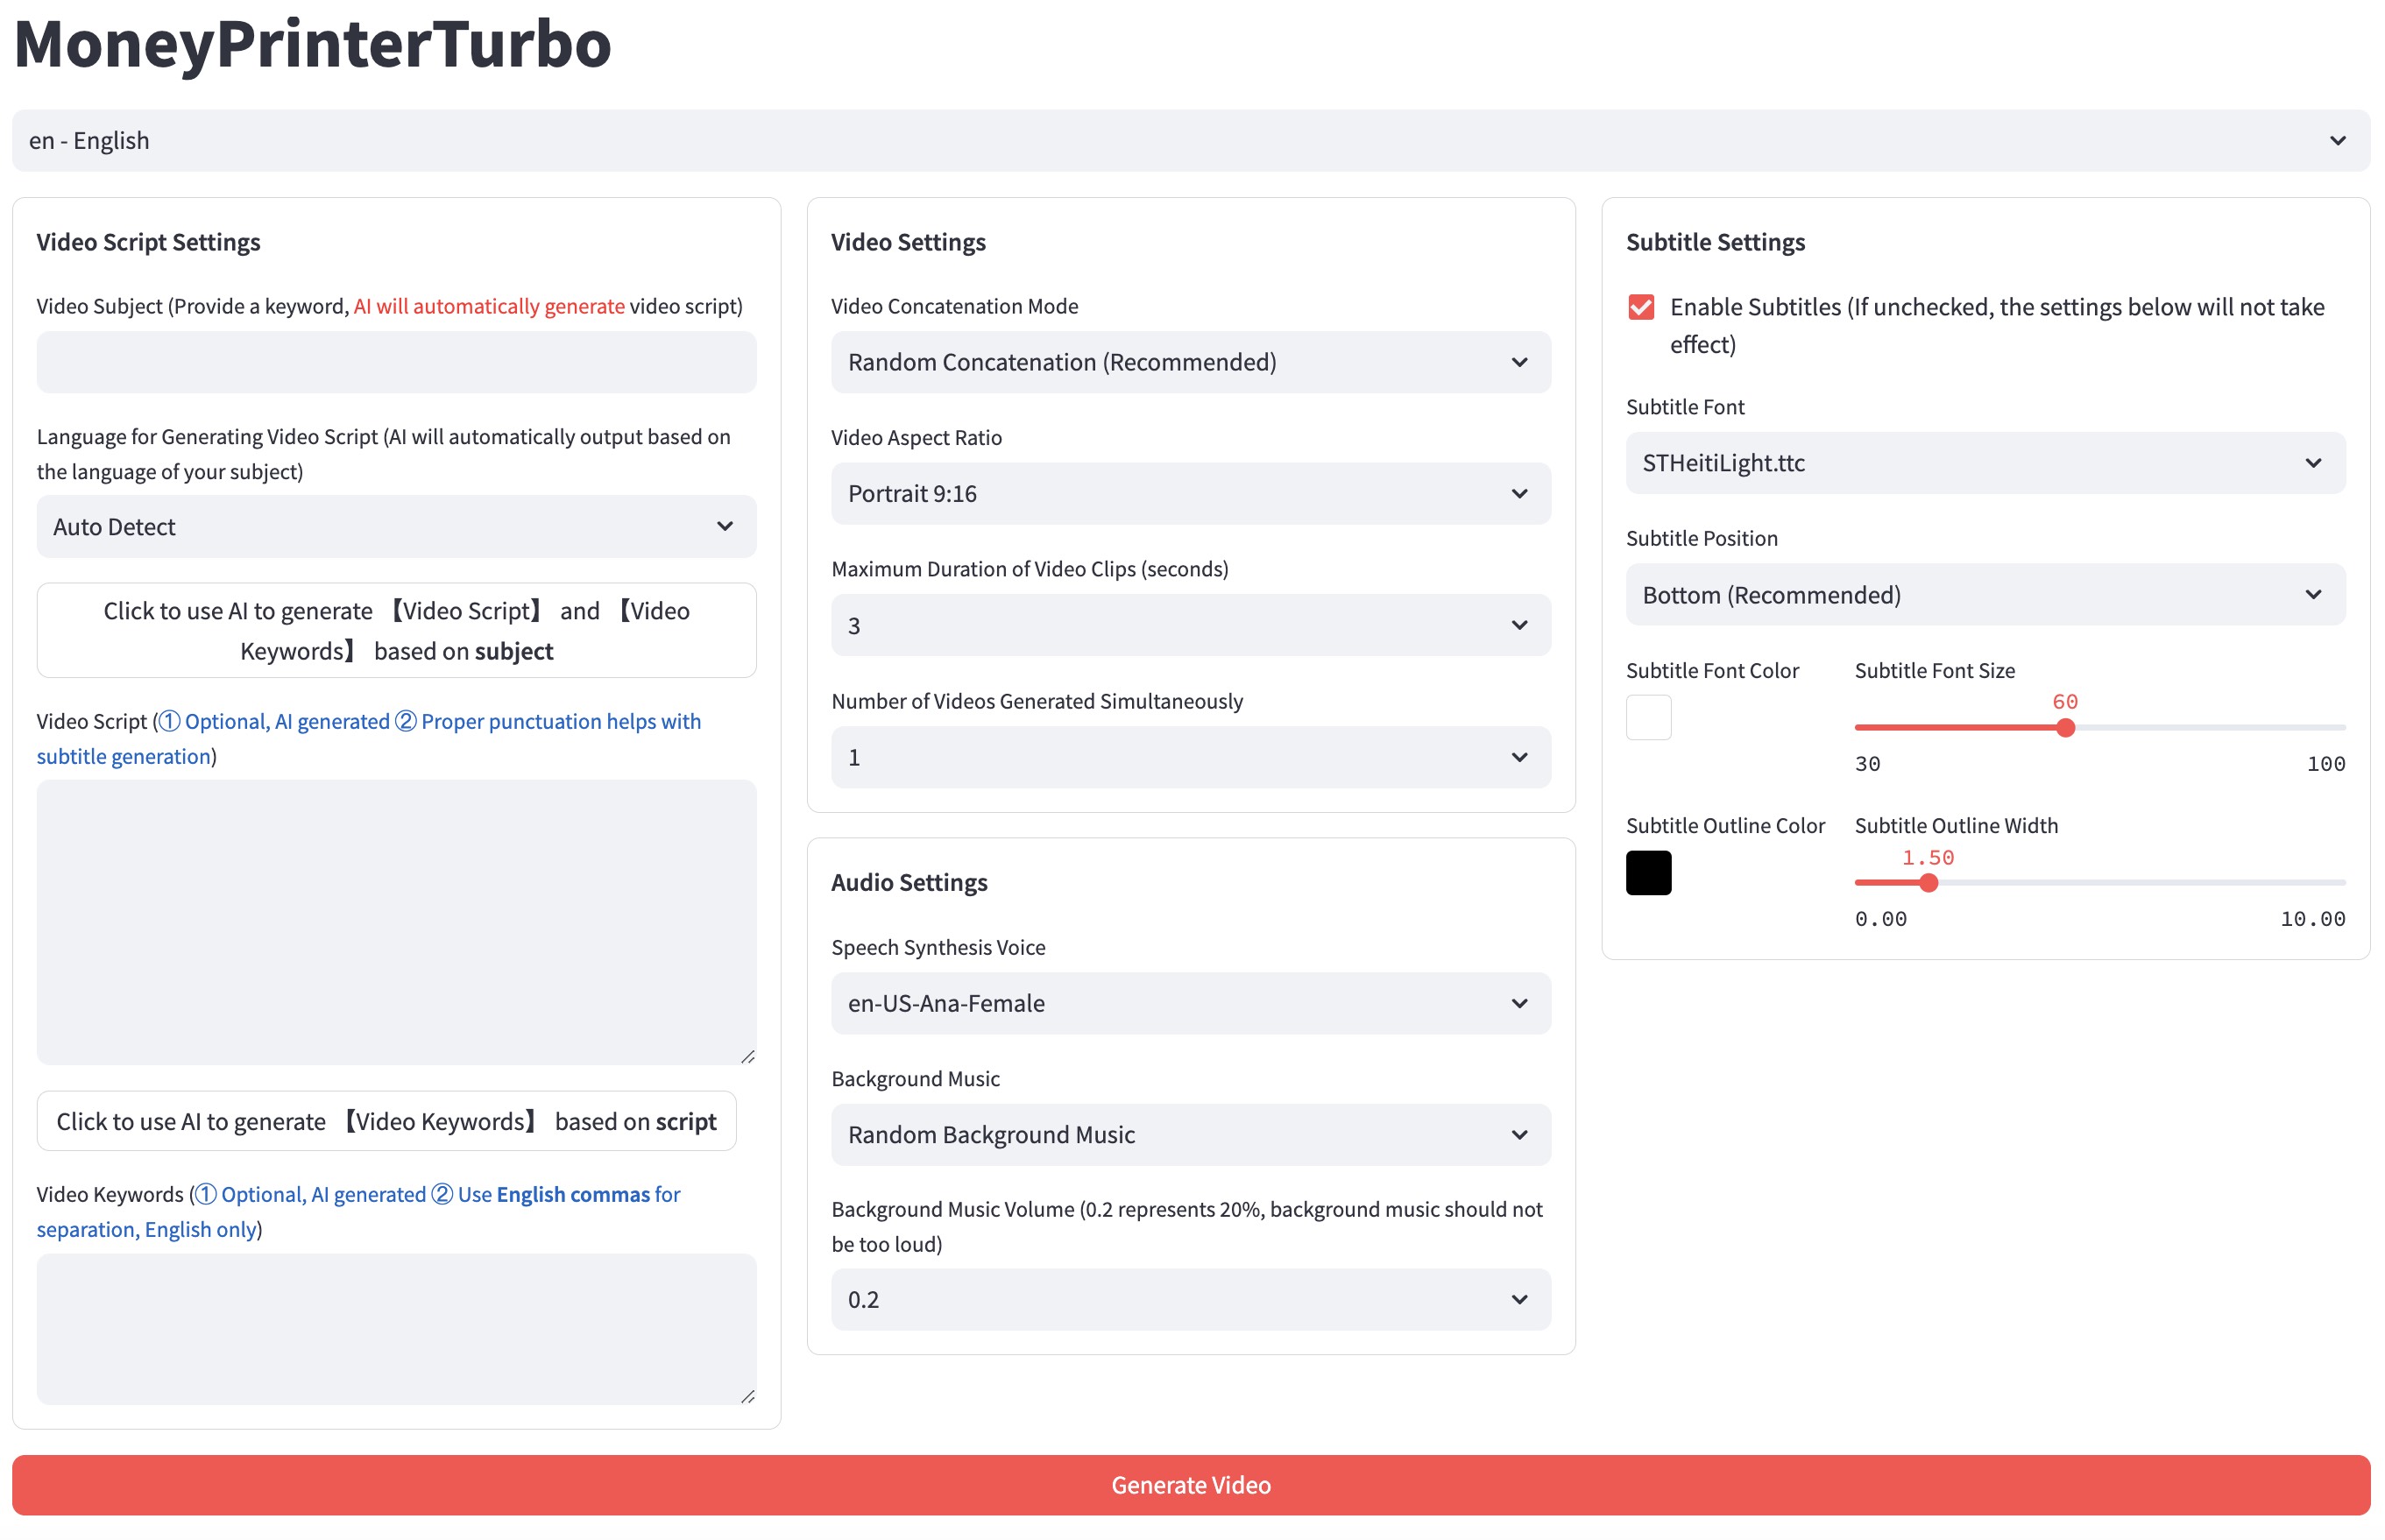
WebUI

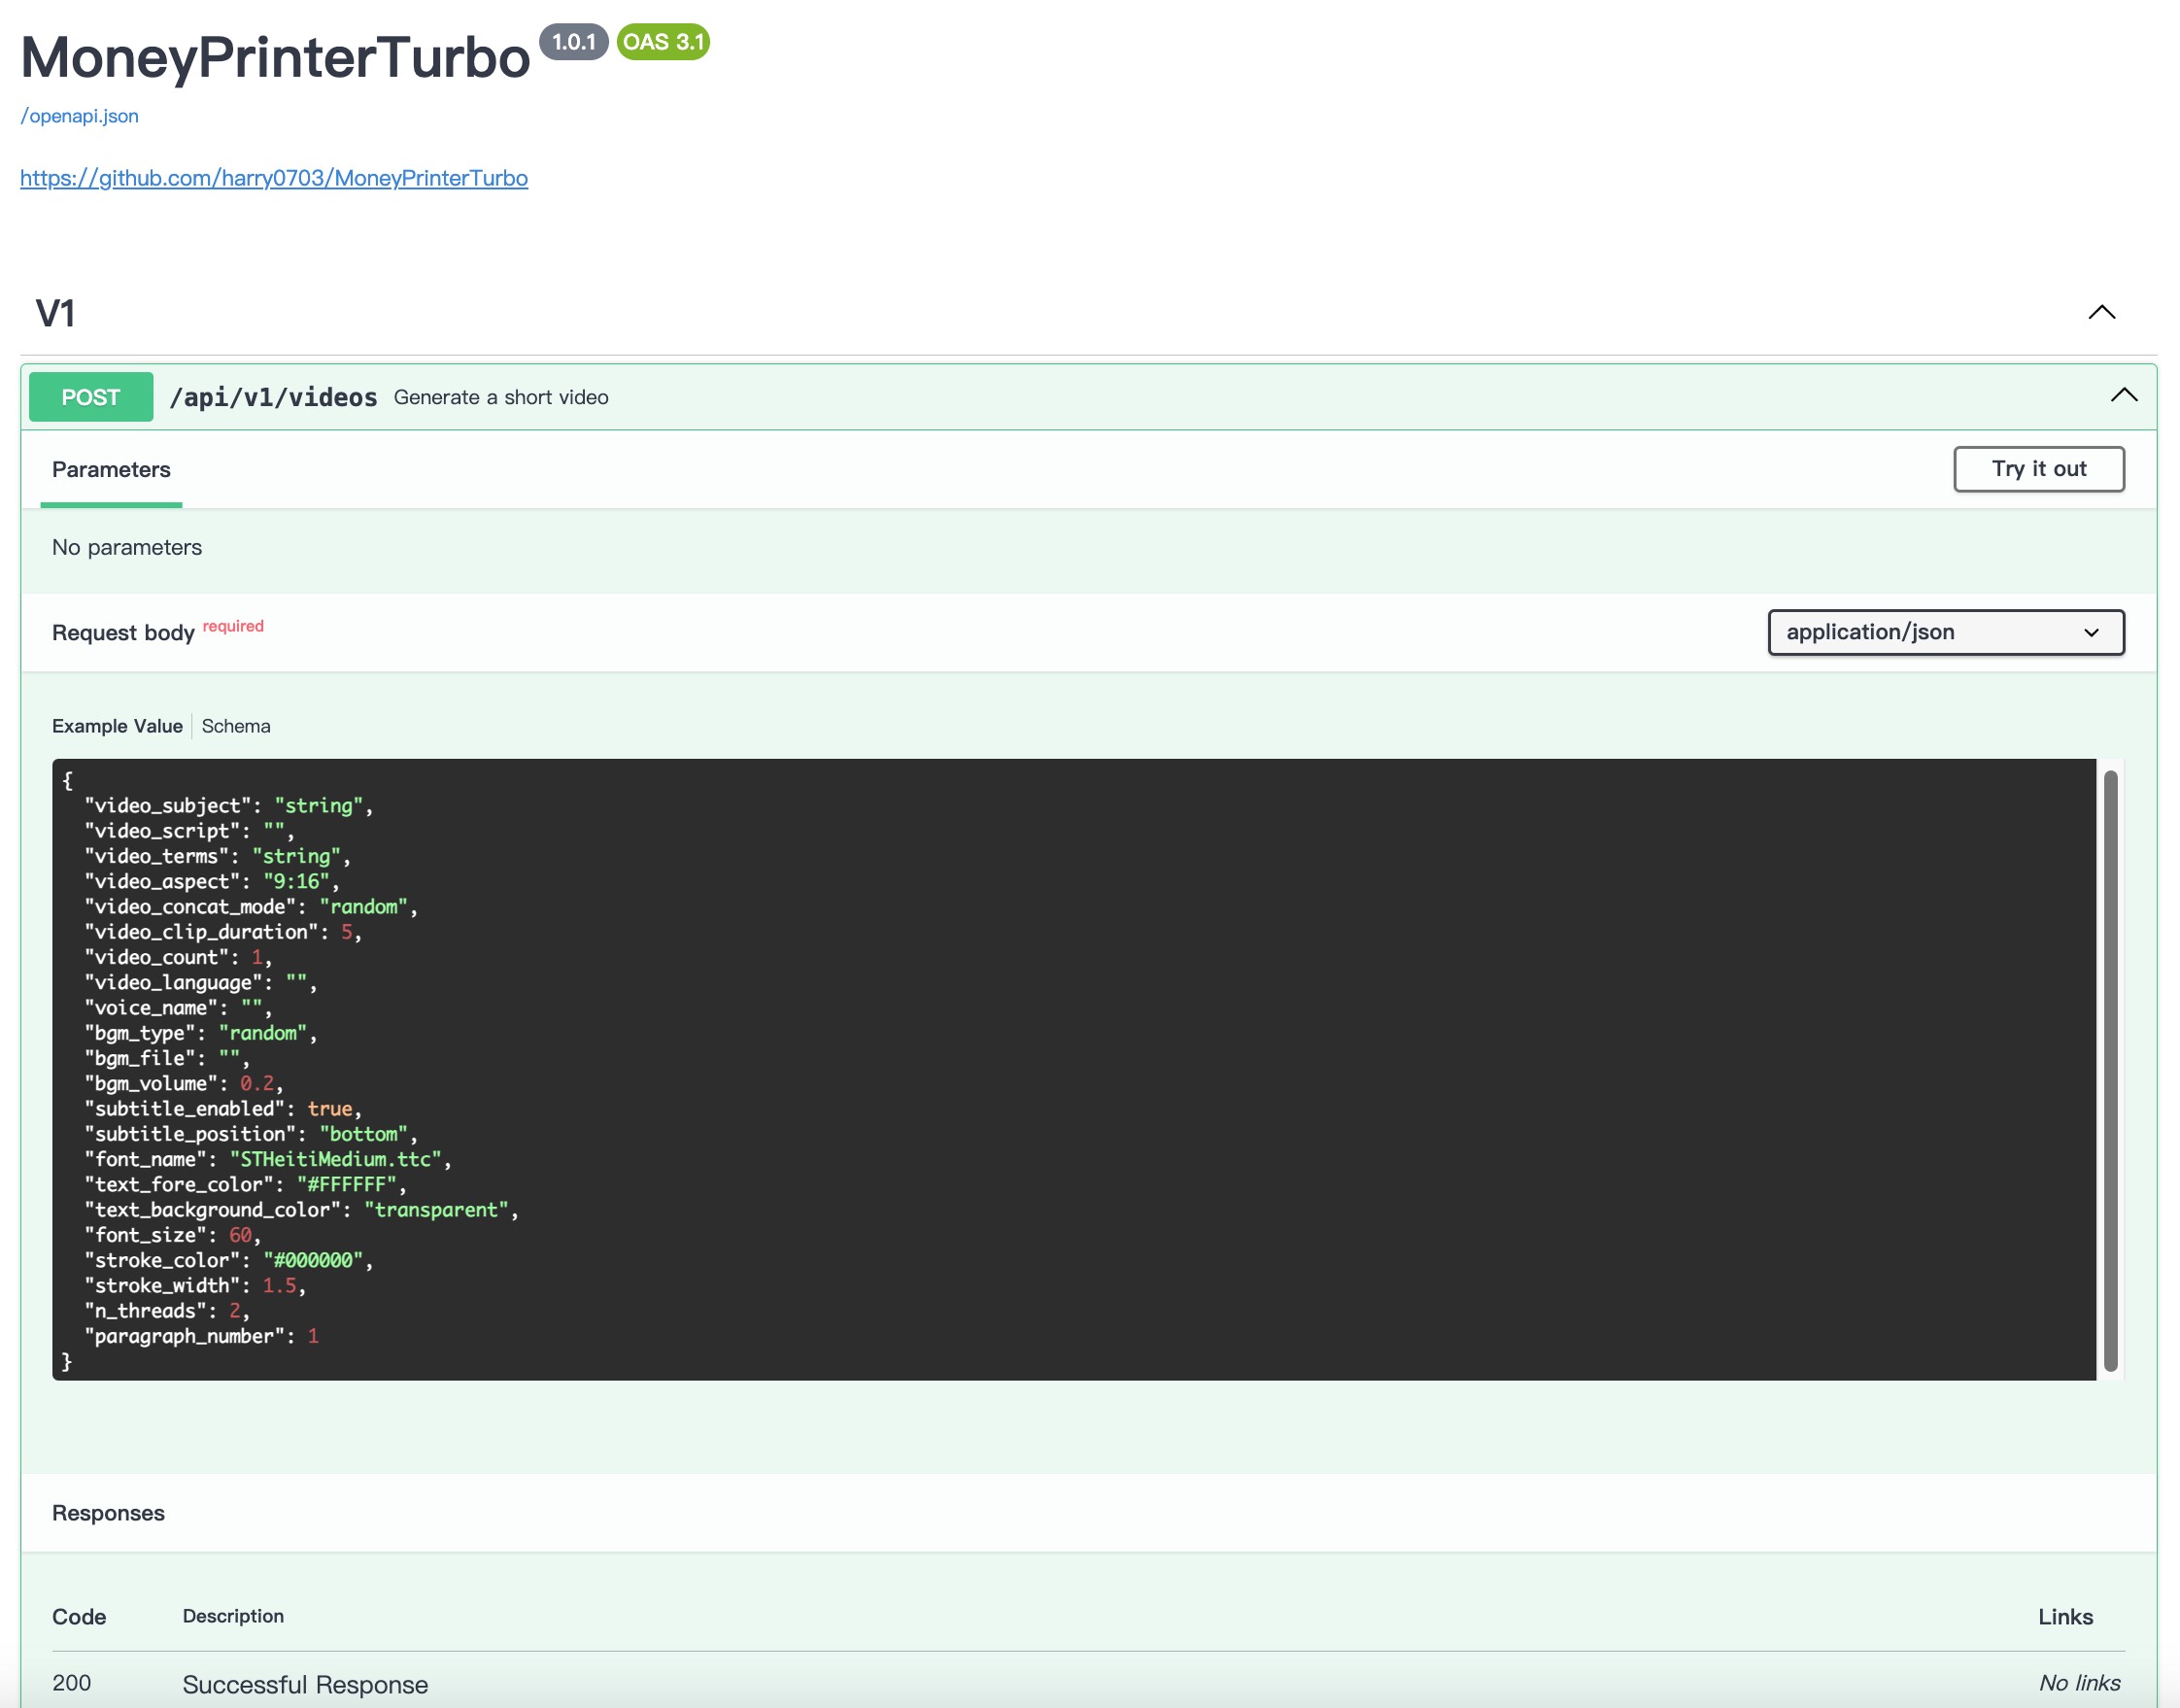
API Interface

- Try to avoid using Chinese paths to prevent unpredictable issues
- Ensure your network is stable, meaning you can access foreign websites normally
① Clone the Project
git clone https://github.com/harry0703/MoneyPrinterTurbo.git
② Modify the Configuration File
- Copy the
config.example.tomlfile and rename it toconfig.toml - Follow the instructions in the
config.tomlfile to configurepexels_api_keysandllm_provider, and according to the llm_provider's service provider, set up the corresponding API Key
③ Configure Large Language Models (LLM)
- To use
GPT-4.0orGPT-3.5, you need anAPI KeyfromOpenAI. If you don't have one, you can setllm_providertog4f(a free-to-use GPT library https://github.com/xtekky/gpt4free)
Docker Deployment 🐳
① Launch the Docker Container
If you haven't installed Docker, please install it first https://www.docker.com/products/docker-desktop/ If you are using a Windows system, please refer to Microsoft's documentation:
- https://learn.microsoft.com/en-us/windows/wsl/install
- https://learn.microsoft.com/en-us/windows/wsl/tutorials/wsl-containers
cd MoneyPrinterTurbo
docker-compose up
② Access the Web Interface
Open your browser and visit http://0.0.0.0:8501
③ Access the API Interface
Open your browser and visit http://0.0.0.0:8080/docs Or http://0.0.0.0:8080/redoc
Manual Deployment 📦
① Create a Python Virtual Environment
It is recommended to create a Python virtual environment using conda
git clone https://github.com/harry0703/MoneyPrinterTurbo.git
cd MoneyPrinterTurbo
conda create -n MoneyPrinterTurbo python=3.10
conda activate MoneyPrinterTurbo
pip install -r requirements.txt
② Install ImageMagick
Windows:
- Download https://imagemagick.org/archive/binaries/ImageMagick-7.1.1-29-Q16-x64-static.exe
- Install the downloaded ImageMagick, do not change the installation path
- Modify the
config.tomlconfiguration file, setimagemagick_pathto your actual installation path (if you didn't change the path during installation, just uncomment it)
MacOS:
brew install imagemagick
Ubuntu
sudo apt-get install imagemagick
CentOS
sudo yum install ImageMagick
③ Launch the Web Interface 🌐
Note that you need to execute the following commands in the root directory of the MoneyPrinterTurbo project
Windows
conda activate MoneyPrinterTurbo
webui.bat
MacOS or Linux
conda activate MoneyPrinterTurbo
sh webui.sh
After launching, the browser will open automatically
④ Launch the API Service 🚀
python main.py
After launching, you can view the API documentation at http://127.0.0.1:8080/docs and directly test the interface online for a quick experience.
License 📝
Click to view the LICENSE file